Back to index...
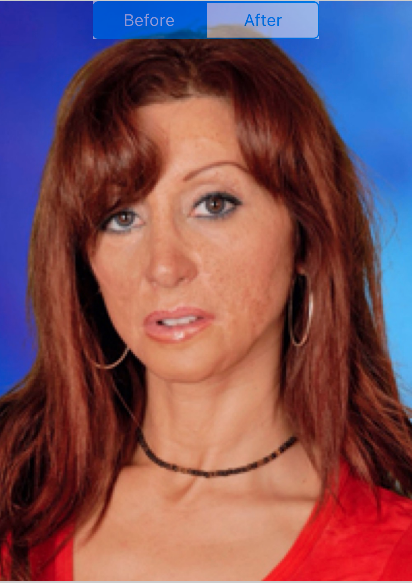
BEFORE SMOOTHING
AFTER SMOOTHING
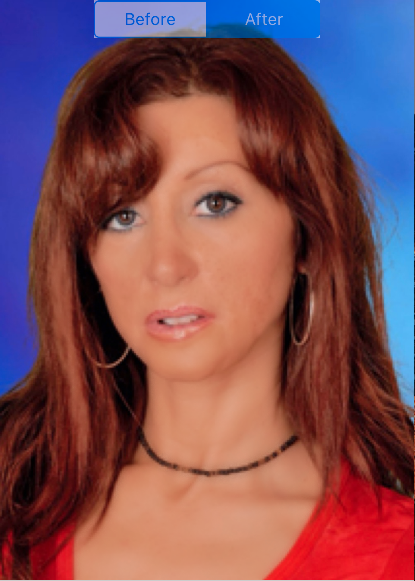
In the old days of film people used soft focus lenses and other means to smooth an image. Portrait clients loved this pleasant effect. With the advent of digital cameras razor sharp images were the goal. This is great for landscape photos but not so good for close-up portraits as it causes every skin imperfection to be dramatically displayed. To recreate the soft focus look software could be written to emulate the smoothing effect. The problem with that approach is it tends to make the entire photo soft when all we want smoothed is the skin.
The Smooth Skin Photo Wizard uses 2 methods to do this.
Method 1
Method 1, the origional method, uses special algorithms to detect areas of the photo that are skin colored and apply the smoothing to just those areas. You can choose how much smoothing you want with convenient sliders. Make sure your image is well exposed and has a pink not purple look to it. If you find that no smoothing is taking place it means that the image is not the proper skin color for the algorithm. You can fix this by adjusting the skin color in the color section.
Method 2
Method 2 uses an algorithm called Fast Global Image Smoothing that will smooth areas but still keep edges sharp. This method will work on any photo, not just photos with skin color.
Not sure which algorithm to use? Just try both and pick the one what works best for your photo.
To use the app just load an image to be smoothed. You can go to the before and after screen to see how well the defaults worked on your photo. If you feel you would like more or less of the effect click the setting icon and adjust to suit your preferences.
If the effect does not seem to work click on the color icon. Adjust the color balance to make your images skin color have a pinkish look to it. If you have blemish or uneven coloring you may want to mix in some face color to even out the look of your skin. If that does not work you can edit the image. Select the skin color near the blemish and then rub the blemish several times to slowly color over the blemish.